Square purchased Weebly a while back ago and now has decided to charge for hosting this website with a domain name. I have had a free website through Weebly at least since graduating from Art School. I currently pay for my Domain name outside of Weebly and Square. I have been told that this website will be un-published as of March 21, 2023 unless I pay for a plan or utilize their free non-domain named feature, which negates my paying for a Domain name annually. You should be able to find me at the same web address (www.chriscustoms.net), however it might be in the construction phase and obviously hosted by someone else, not Square.
|
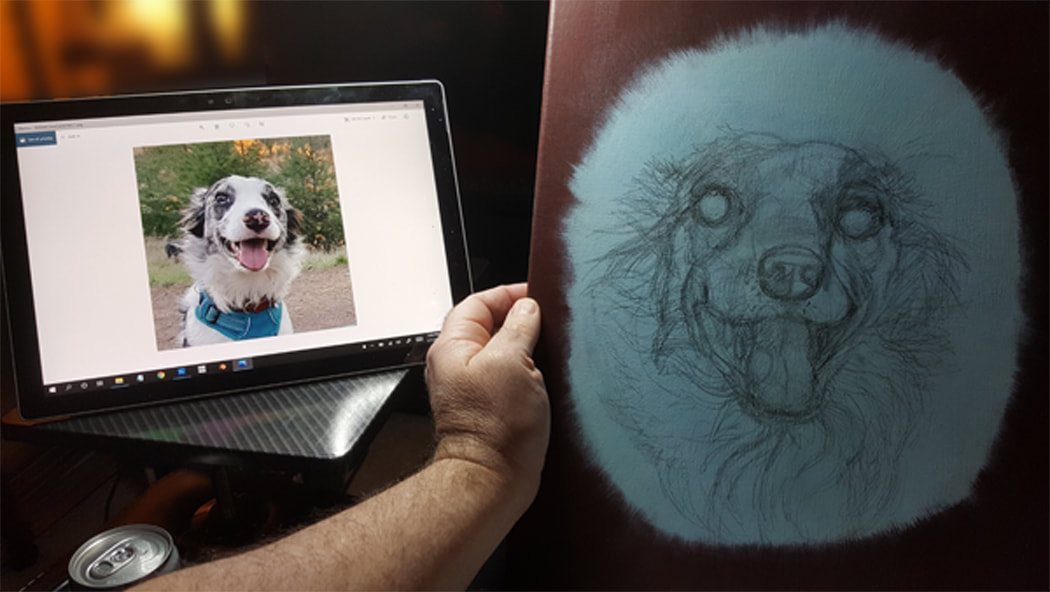
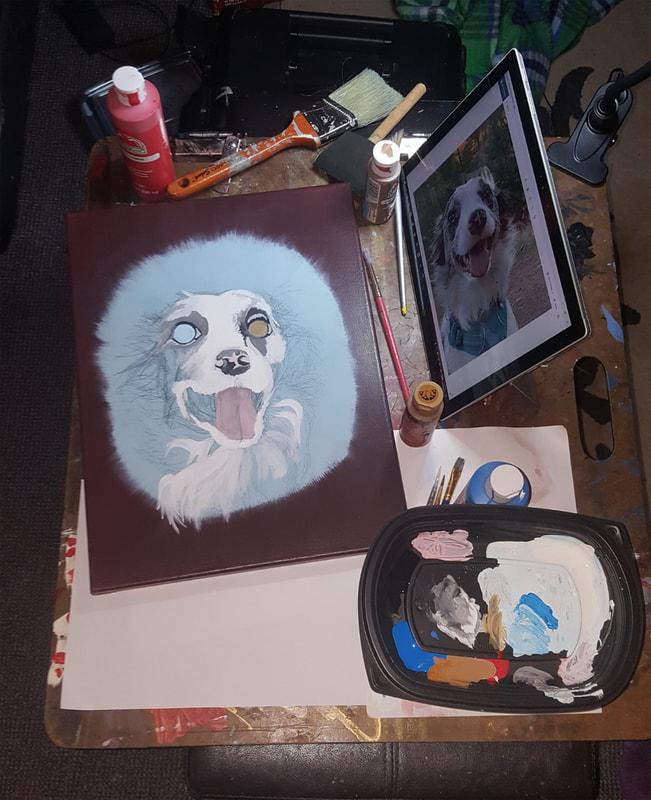
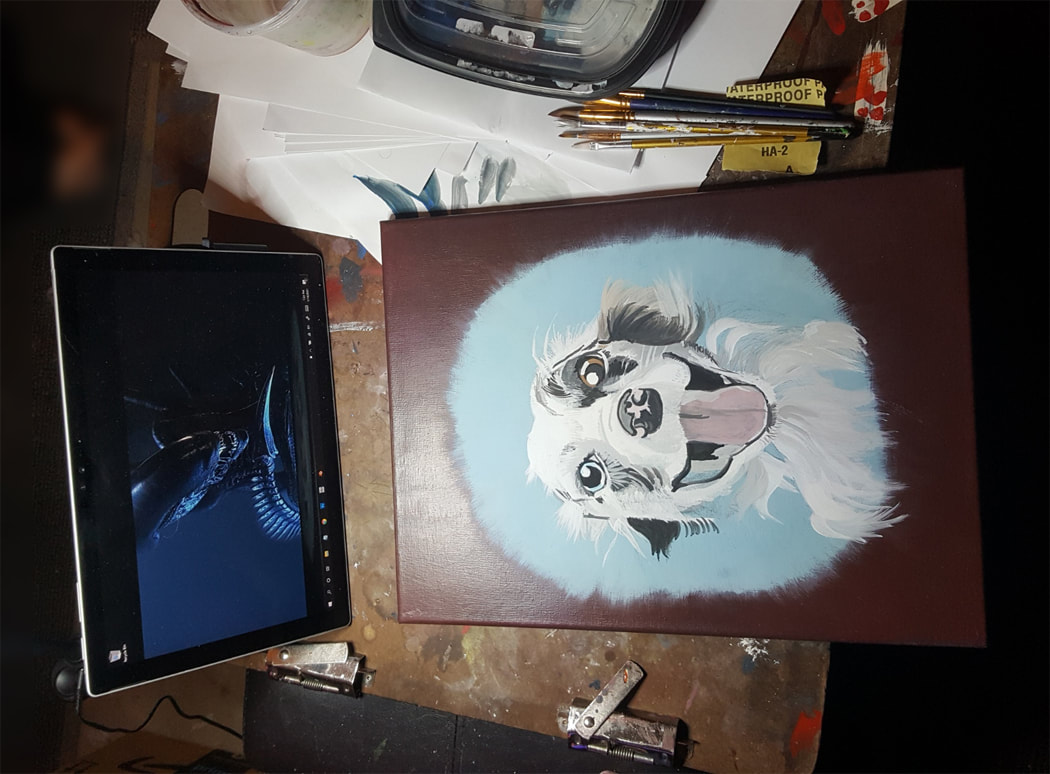
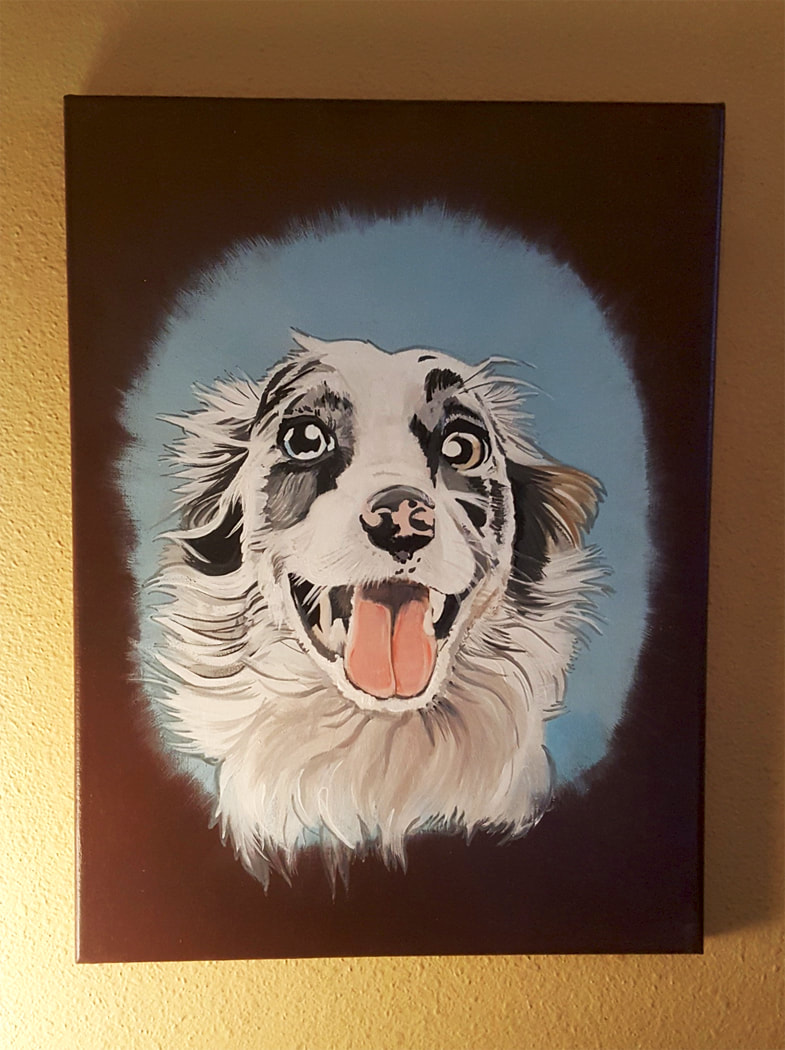
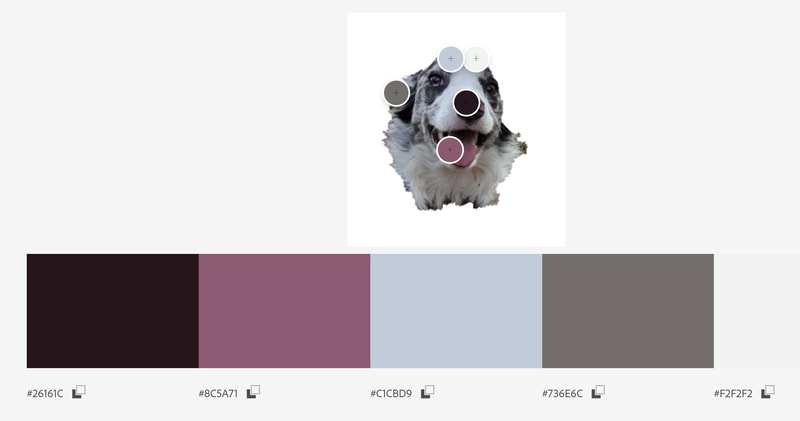
Here are some shots of me making a painting of Willow. One of my tools is the Adobe Color wheel. Link here: https://color.adobe.com/create/color-wheel. Color theory comes in handy. You can upload a picture and it will give you a number of suggestions to use in your composition!
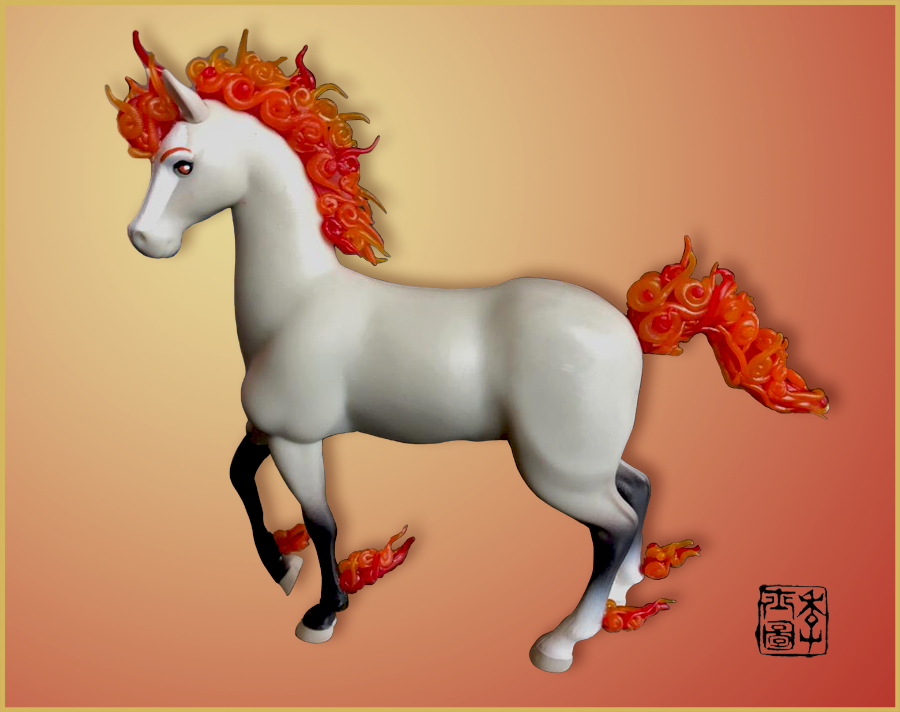
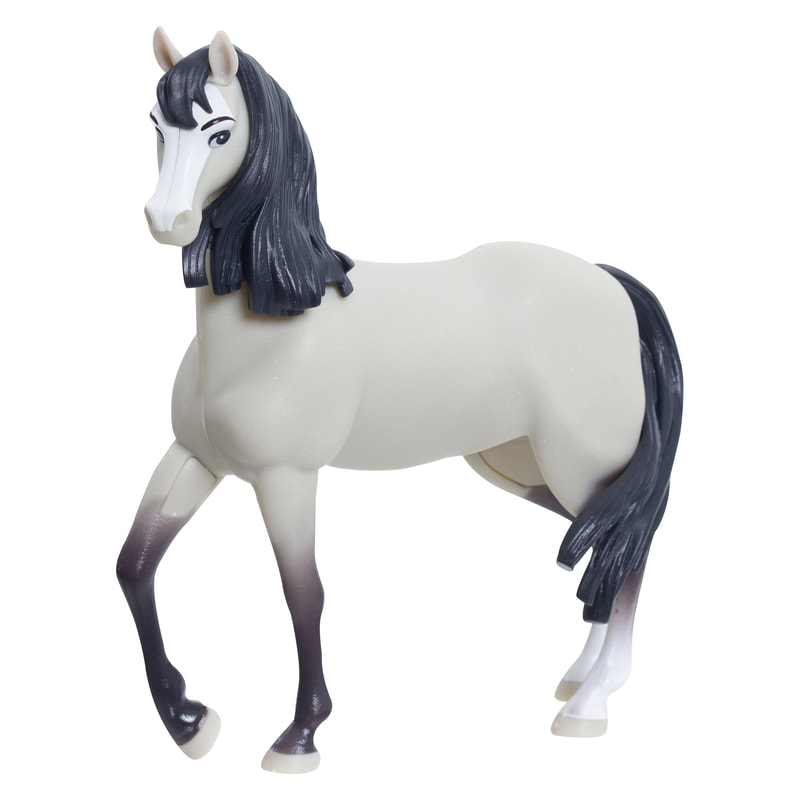
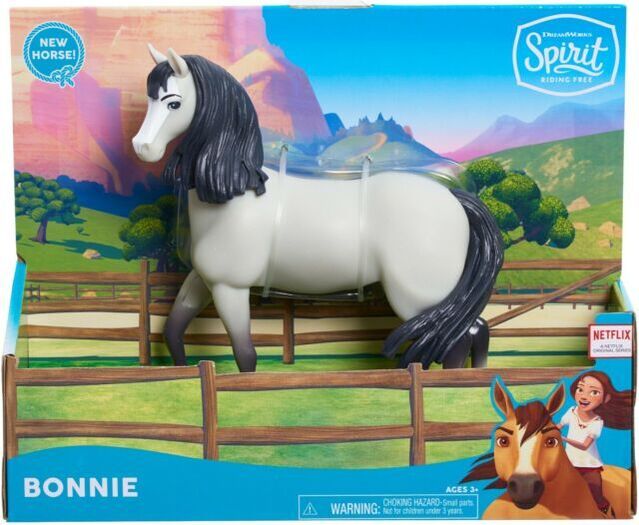
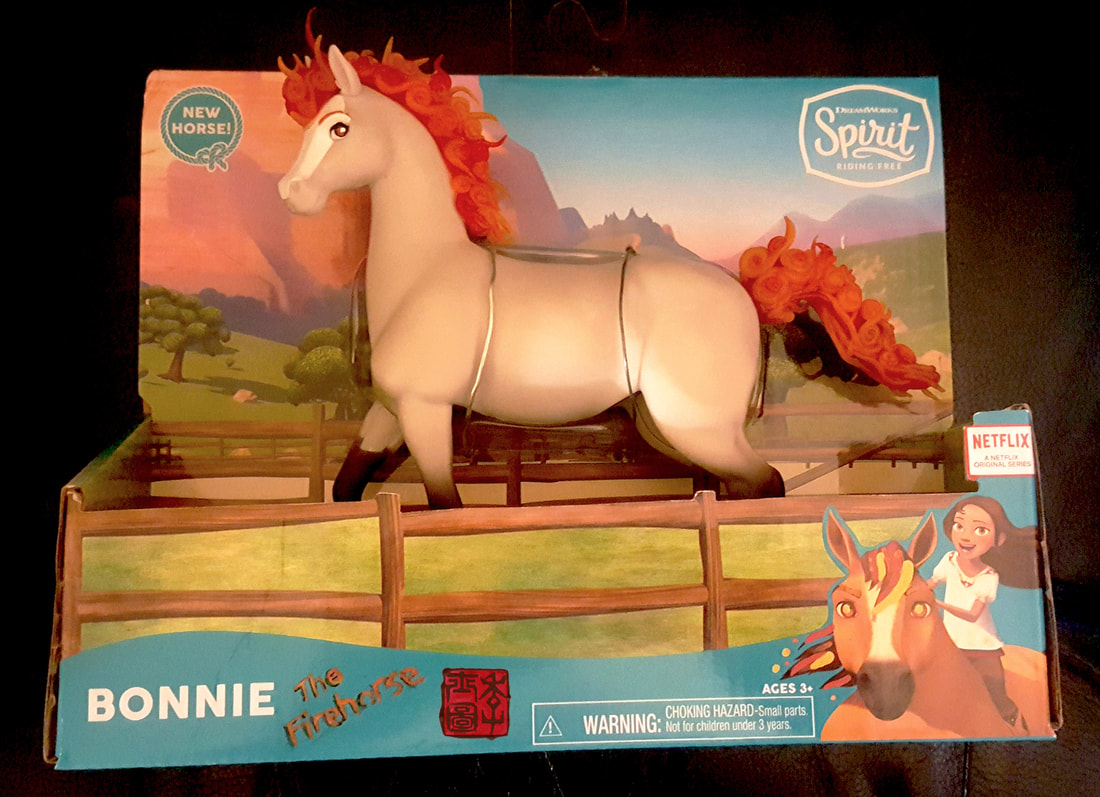
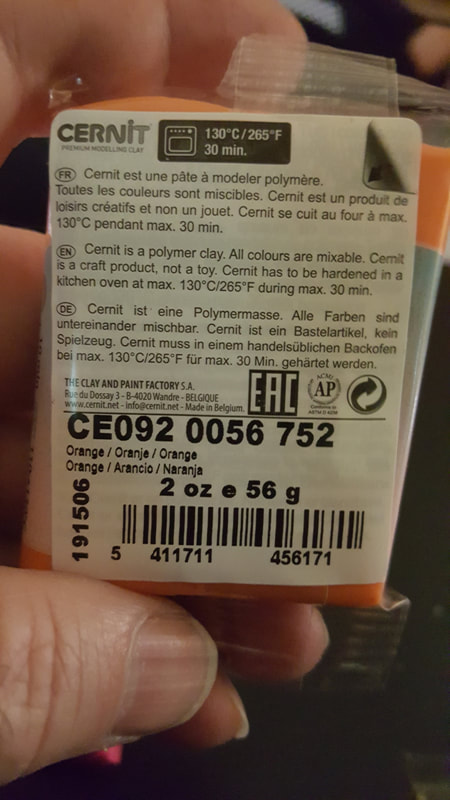
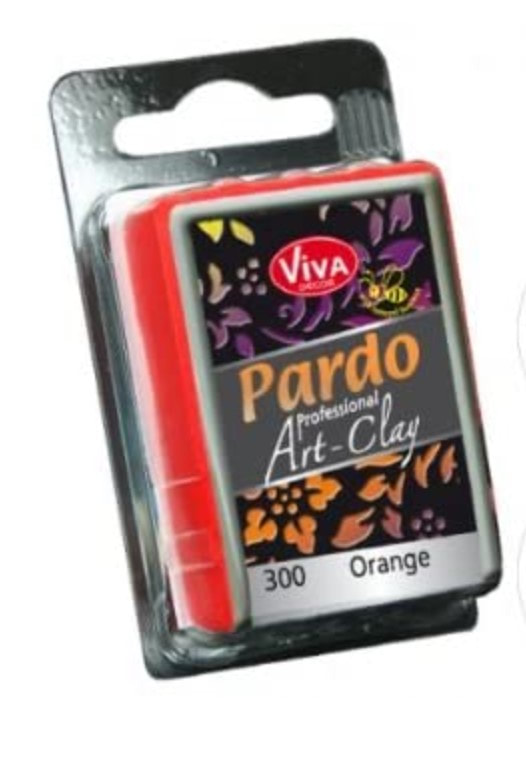
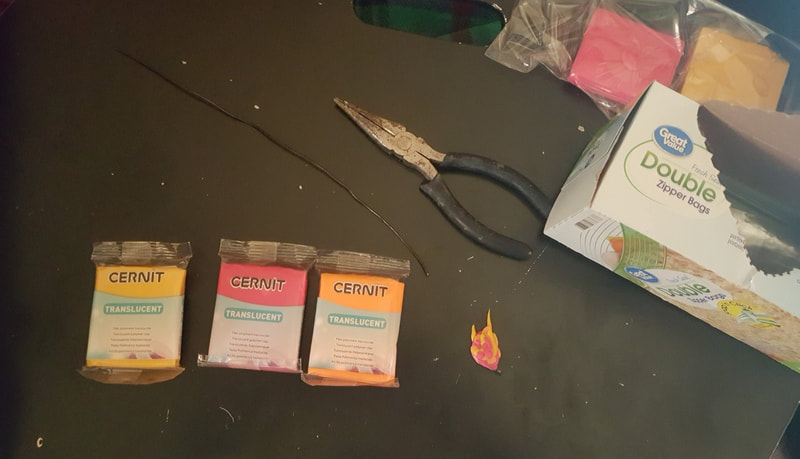
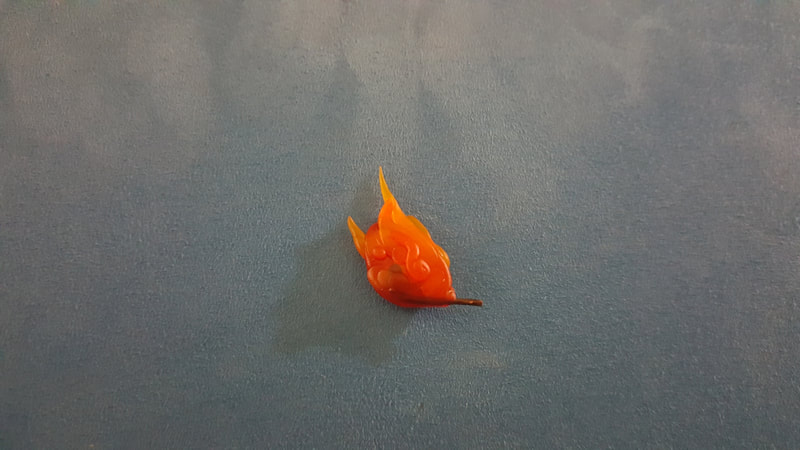
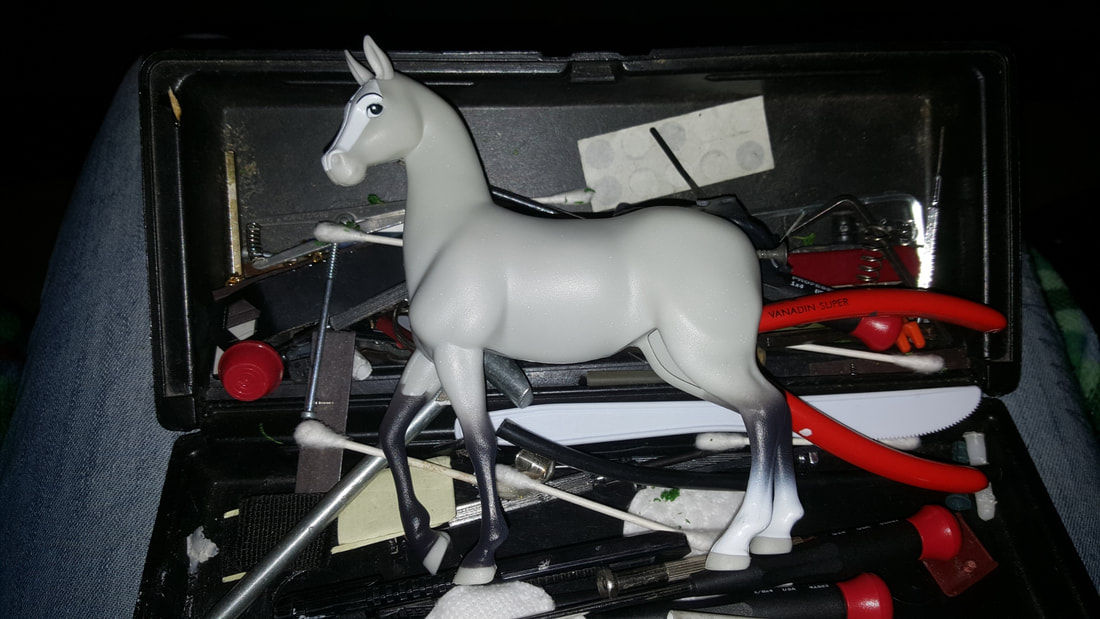
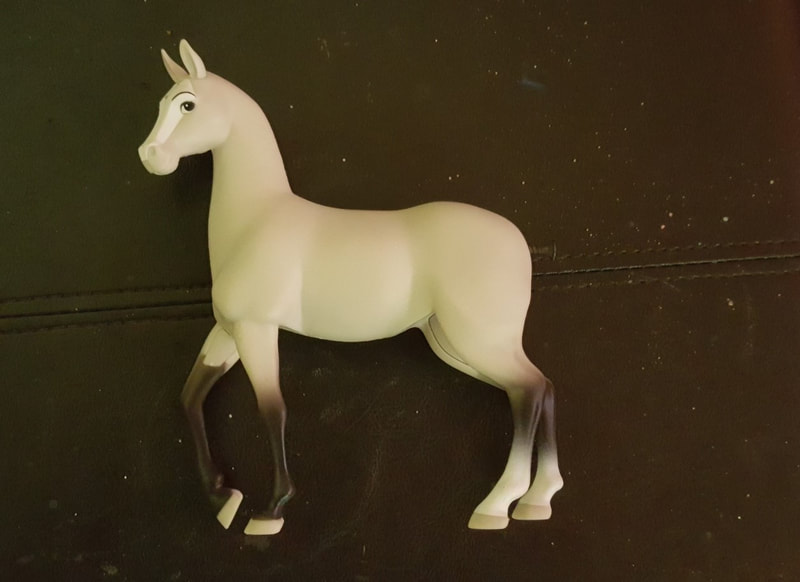
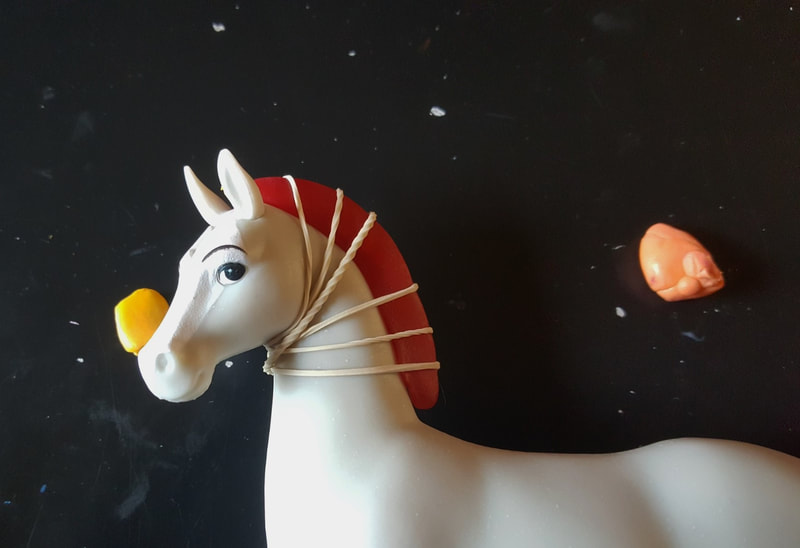
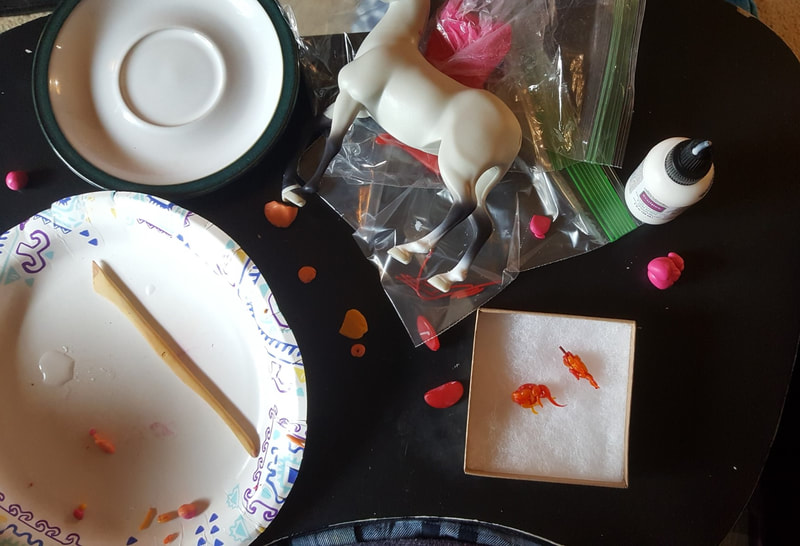
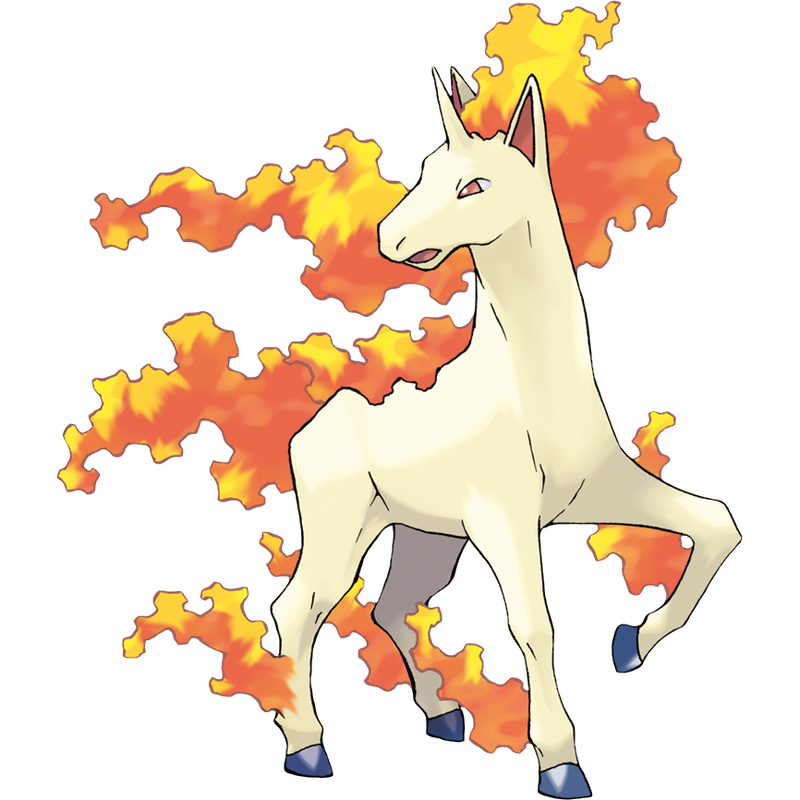
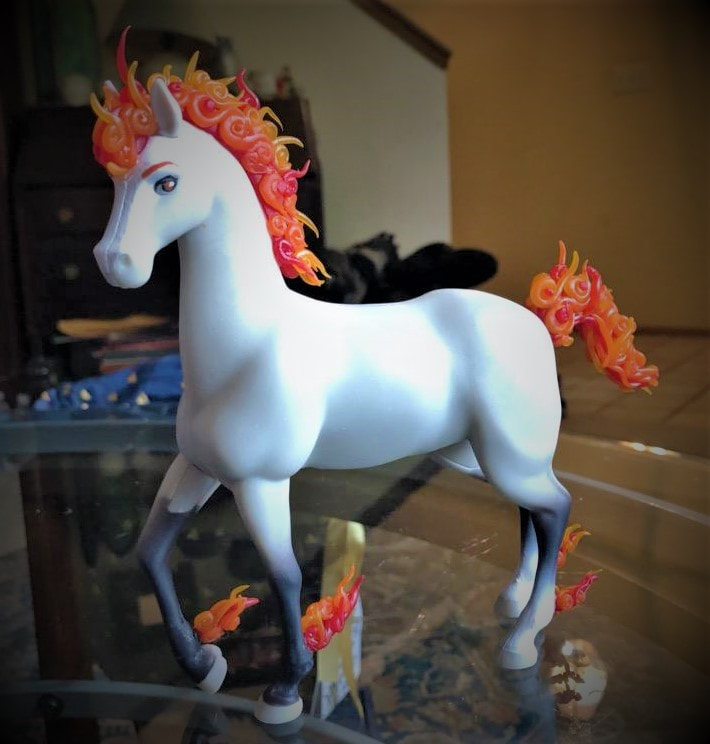
So this was an extremely fun project. I had seen a toy horse in the store and knew almost immediately that it would make a great Firehorse or Rapidash for my wife. She had been asking for one for a while. Being as "Bonnie" the soon to be Firehorse was an open boxed toy, I could easily see and feel that the mane and tail were removable, plug-in rubber type molded pieces. I originally thought about just trimming the mane and tail pieces and using them as a base in which to add clay, but instead removed them completely. The other really cool thing was the plan to use the original packaging as if the Firehorse had come off the manufacturer line in the box. Giving this item a 2nd head turn was the plan, as if you too could go to the store and pick one up. So off I went carefully unwrapping the toy horse box and trying to keep the package' integrity, memorizing how it comes together/apart. A little bit about the clay I used. I originally wanted to use "Pardo" translucent clay but could not get it shipped to me in time for the deadline. I had done quite a bit of research and Pardo was supposed to be one of the best for translucency. Luckily I found Cernit Translucent clay on Etsy, and gambled on it. And I think it worked out pretty good. I did burn and boil a sample piece because I had heard that higher temperatures would yield a more glass like appearance. Nope. Follow the instructions on the package folks. The horses mane came off easy enough but the tail was another story. A piece was stuck inside from pulling out the tail and breaking it and would push any clay out had I placed a tail inside the hole. So it took what seemed like eternity to get his tail completely out, I still am unsure how to simplify this process other than pure dumb luck. Once the rubber pieces were removed I started making the base pieces for the mane and tail pieces. I used the darkest of fire colors, red, as the base. It was difficult to remove the clay from the mane area and keep its form. Luckily reheating the baked clay and using rubber-bands helped re-shape the base to form on the head. Once the base was established for the pieces I used Sculpey's "Bake and Bond" to adhere the stylized clay fire to the base(s), and re-baked the finalized pieces. I used armature wire for the legs, drilling in holes by hand approximately where the reference images showed. The bake and bond helped the fire adhere to wires better. Sometimes they would slip and twirl around. I used Gorilla glue to adhere the ankle fire pieces. I hope you enjoy the process. e-mail me or catch me on social media if you have any questions.
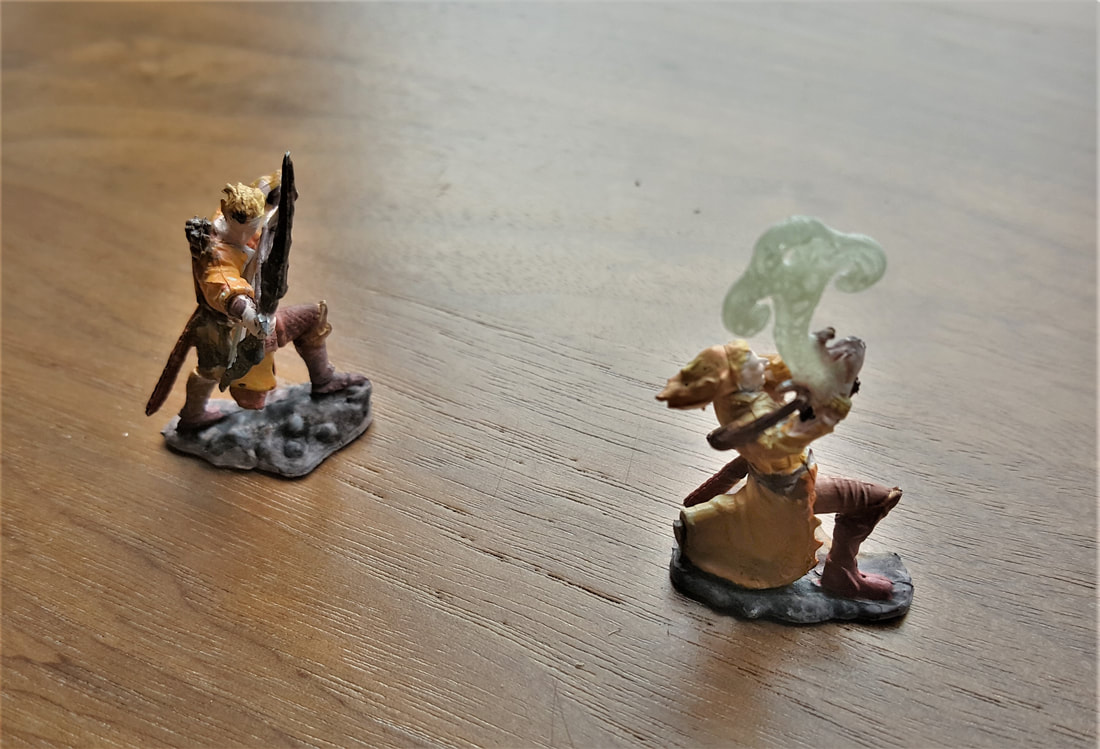
When you know how to paint a little, someone is bound to ask you to paint one of these D&D pre-primed miniatures. I had a blast doing this knowing it was a gift. I also took the time to re-package it in it's original Blister-pack, gluing it shut.
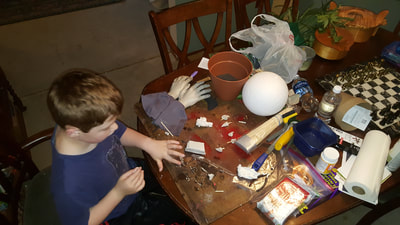
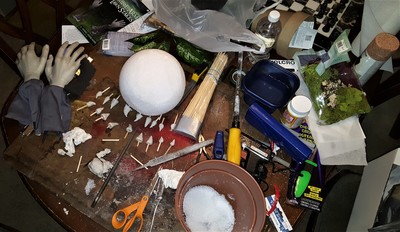
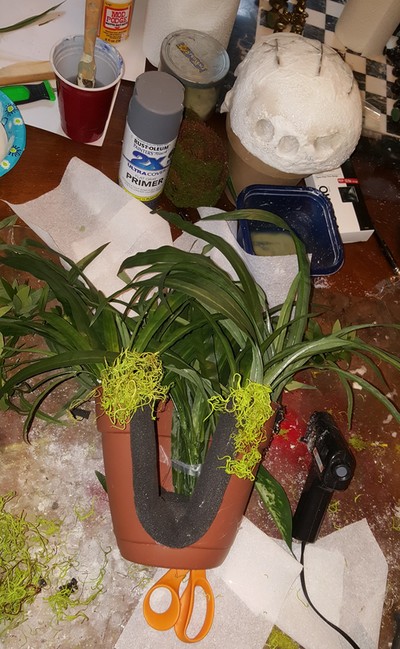
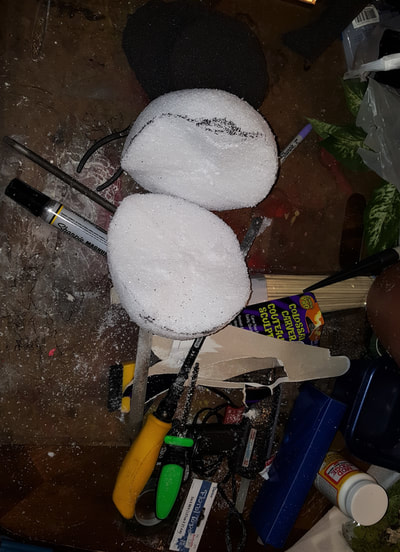
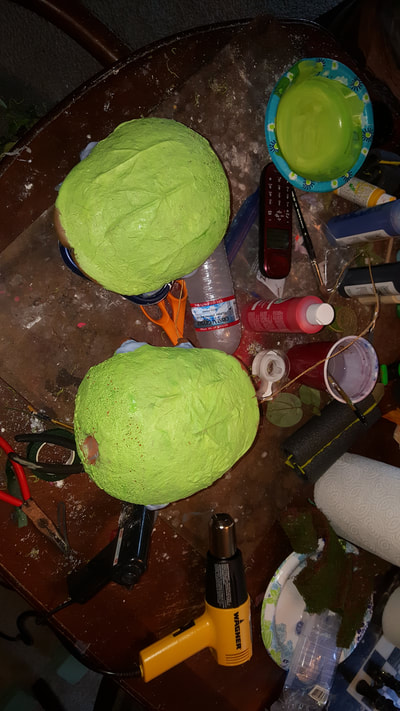
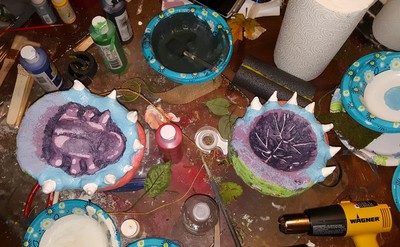
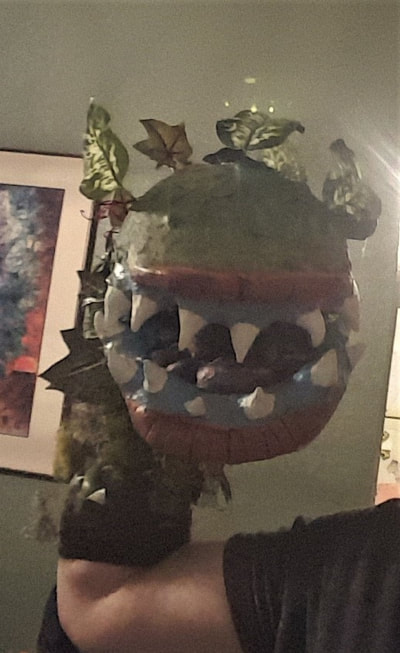
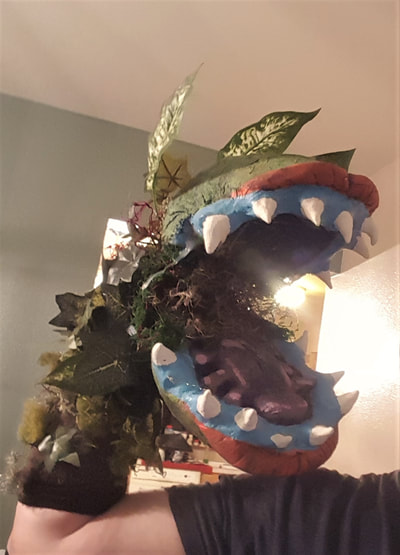
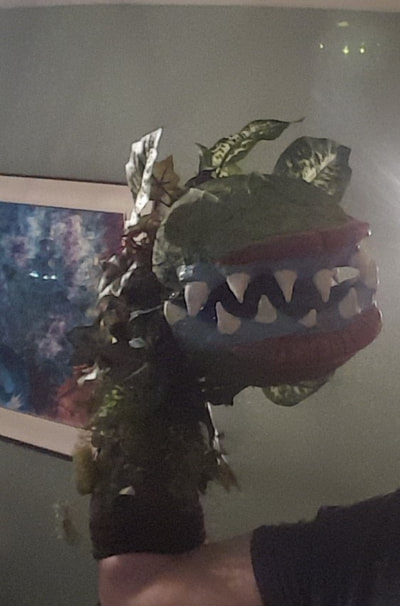
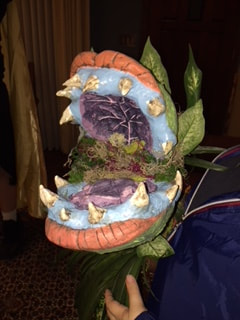
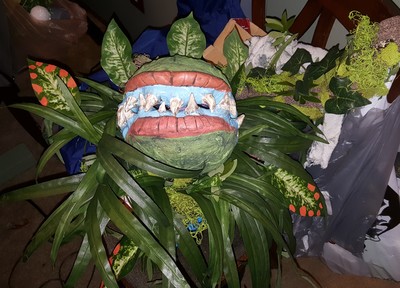
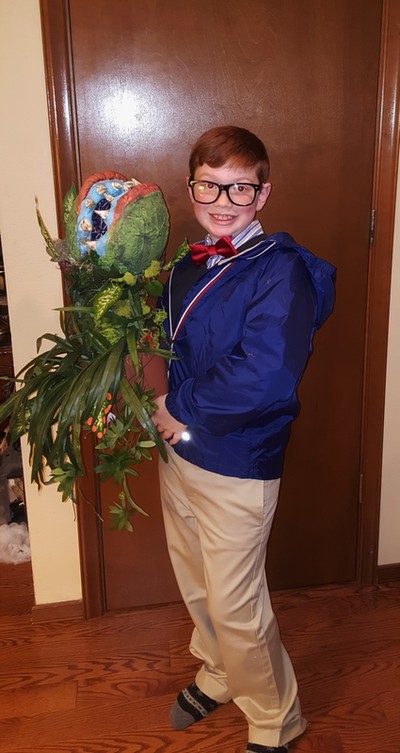
Littlest wants to be Seymour from little Shop of Horrors along with an Audrey 2 puppet. Thanks to Mason Barton for the tips and tricks!
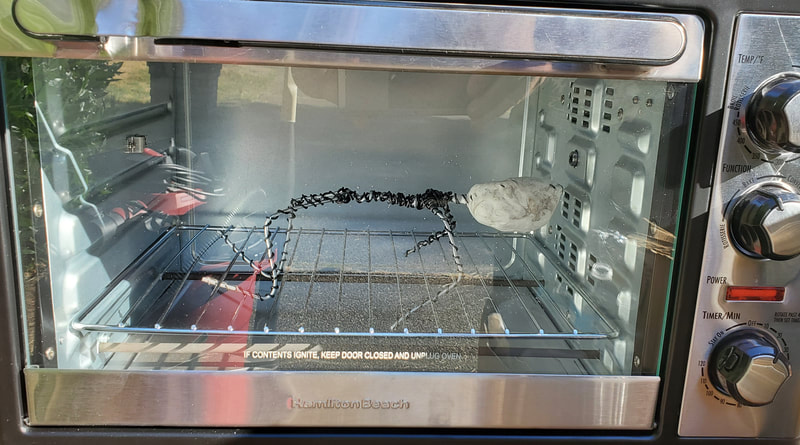
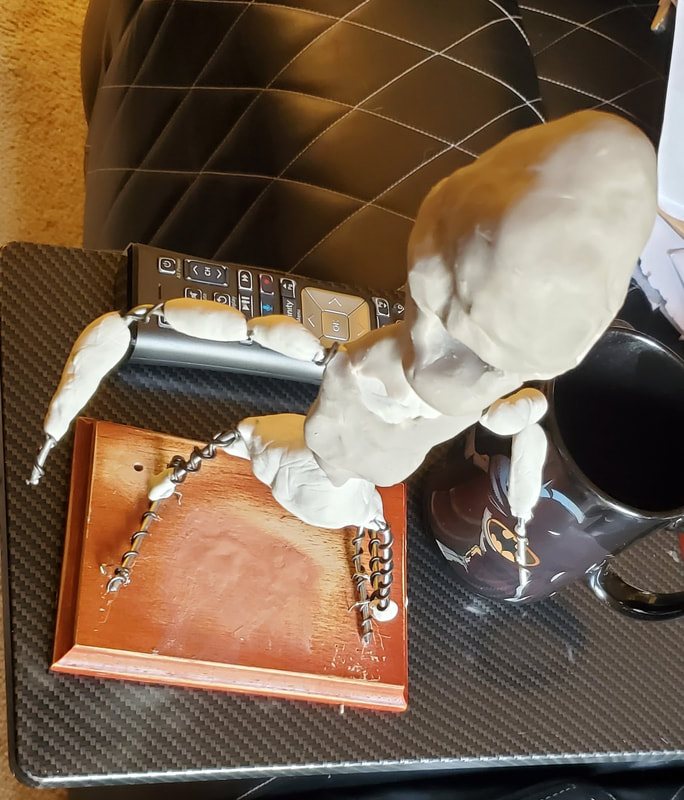
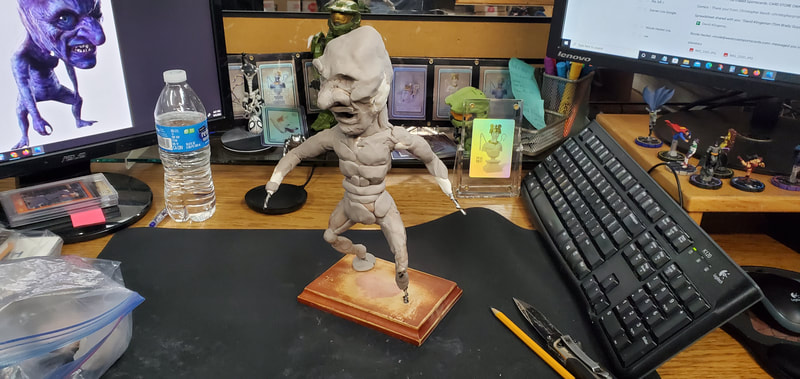
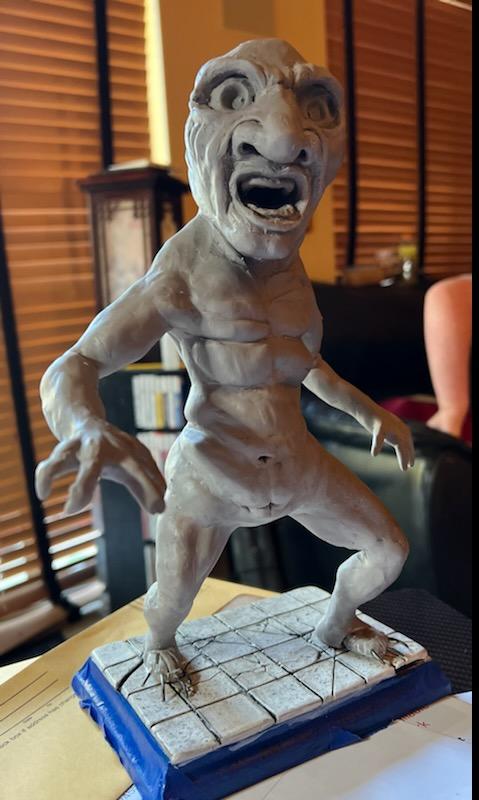
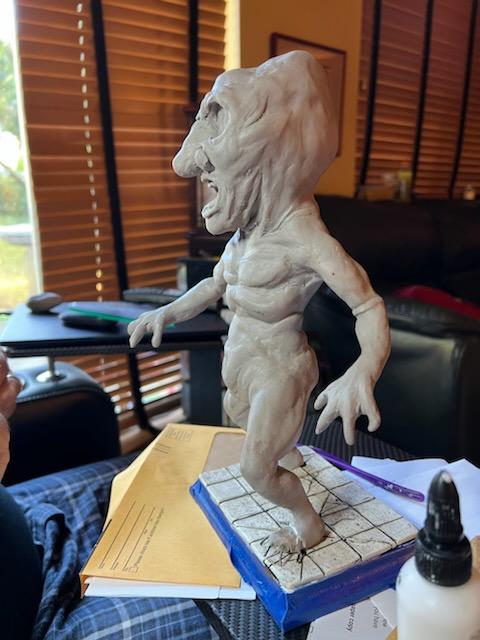
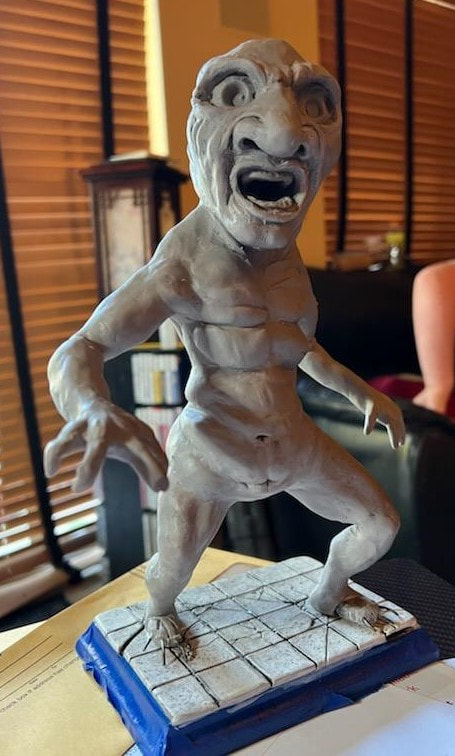
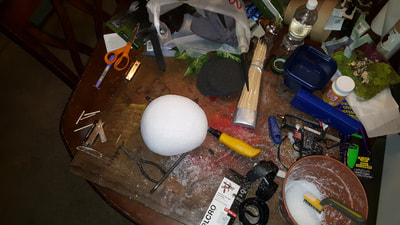
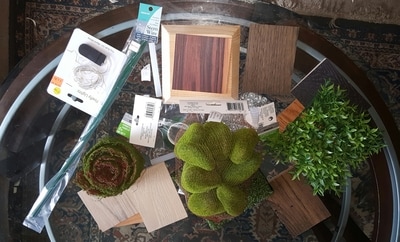
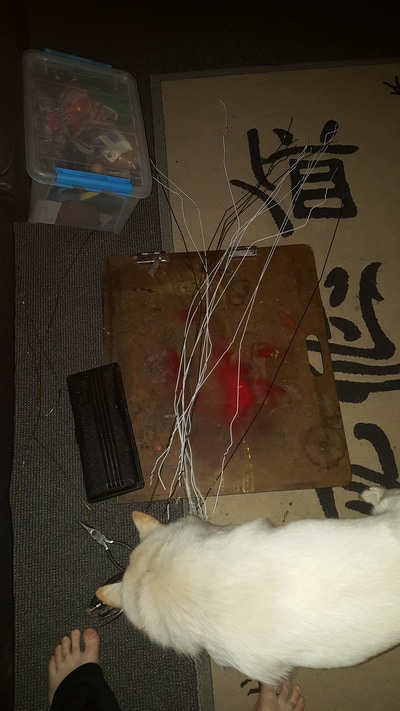
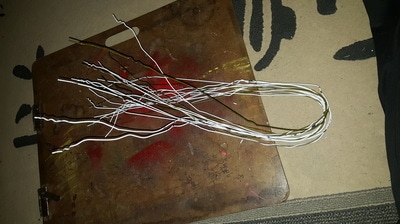
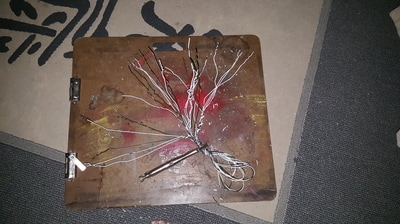
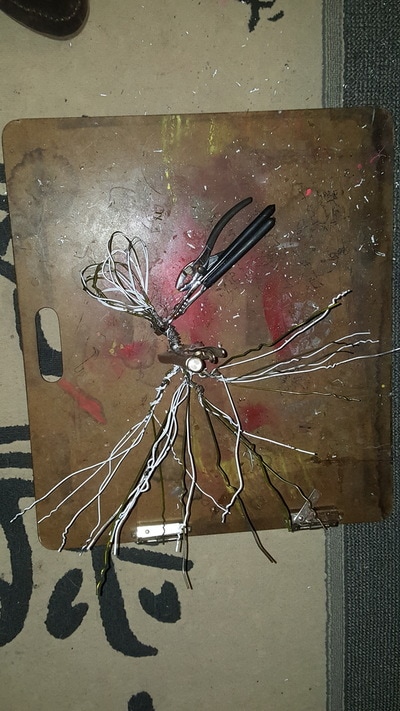
http://amasonsayswhat.blogspot.com/2016/10/audrey-ii-from-little-shop-of-horrors.html Happy Halloween! Thought I would do one package deal of what I've made recently. I physically started my "Enchanted Tree" project last night. After collecting enough coat hangers due to the shortage of armature wire at my local craft stores, I began the layout process to bending and twisting my armature into shape. I already snapped 3 wires, so I don't reccommend wire coat hangers. Making a larger armature also meant a harder time twisting and bending, so i had to break out an assortment of pliers, channel locks, the locking pliers helped me the most for leverage. A new challenge is to incorporate lighting as well. I hope to have my working LED light inside the face of the sculpt with an on off switch powered by a watch battery. So I have to thread that in somehow. My inspiration came from two places. 1. The Emerald City ComicCon had Dug Stanat's booth with his amazing sculptures utilizing cloth and epoxy clay. Here's a link to some of his work. http://www.dugosaurus.com/ I hope to incorporate some of Stanats' techniques onto my future sculpts. The other inspiration has been learning to make trees' with Luke Towan, (http://www.bouldercreekrailroad.com/)geared for model railroad and model diaoramas. You can check out their videos down below. I never considered these modelers as artists before until recently. Their work is incredible. Also Woodland Scenics has some excellent water tutorials (http://woodlandscenics.woodlandscenics.com/) and supplies I received which I hope to incorporate into a Swamp Thing sculpture "Bog man". |
Christopher BendtI like to show the behind the scenes, making of my projects.... |
